Note: as of 26th November release, Form Roles are now referred to as Record Types. Roles as a concept will still exist but this is now a category to define a Record Type.
Record types help group and categorise data so that it can be reused across documents in a structured manner. By assigning a record type to a field (with a field alias), you make it clear who the data belongs to (e.g. Purchaser, Vendor, Applicant, Matter Information). This article explains how to create record types, apply them in your forms, and manage them over time.
View and Create new Record Types
1. Navigate to Assets > Record Types
Record Types under Assets allow for the management and creation of new record types.

2. Select New record type
Add a unique name for the Record type. API identifier will be automatically populated and is used for when using Record Types via API.
Select a Category, either Role or Matter Details.
When creating a Record Type, if the Record Type is going to be used to categorise data for persons, companies or records that may be used in multiple matters, this is a Role. If the Record Type is going to be categorising matter specific data, such as matter information and data that should not be used across matters, this is a Matter Details category.

Once the information is added click on Save. This will now make the Record Type available to be used in form mapping.
Map a Record Type to a form field
Mapping a Record Type to a field in a form allows Smarter Drafter to link the form Record Type and field to an assigned record when filling in a form. This allows the data from a record to transfer to the appropriate field in the form.
1. Navigate to Form Mapping
Select a form in Draft mode, and click on Mapping.
Note: Ensure fields created that need to allow data to be re-used have a field alias assigned. To learn more about field alias see this help article.
Avoid assigning field aliases to general fields that aren’t reusable or don’t belong to a distinct Role or Matter Details.
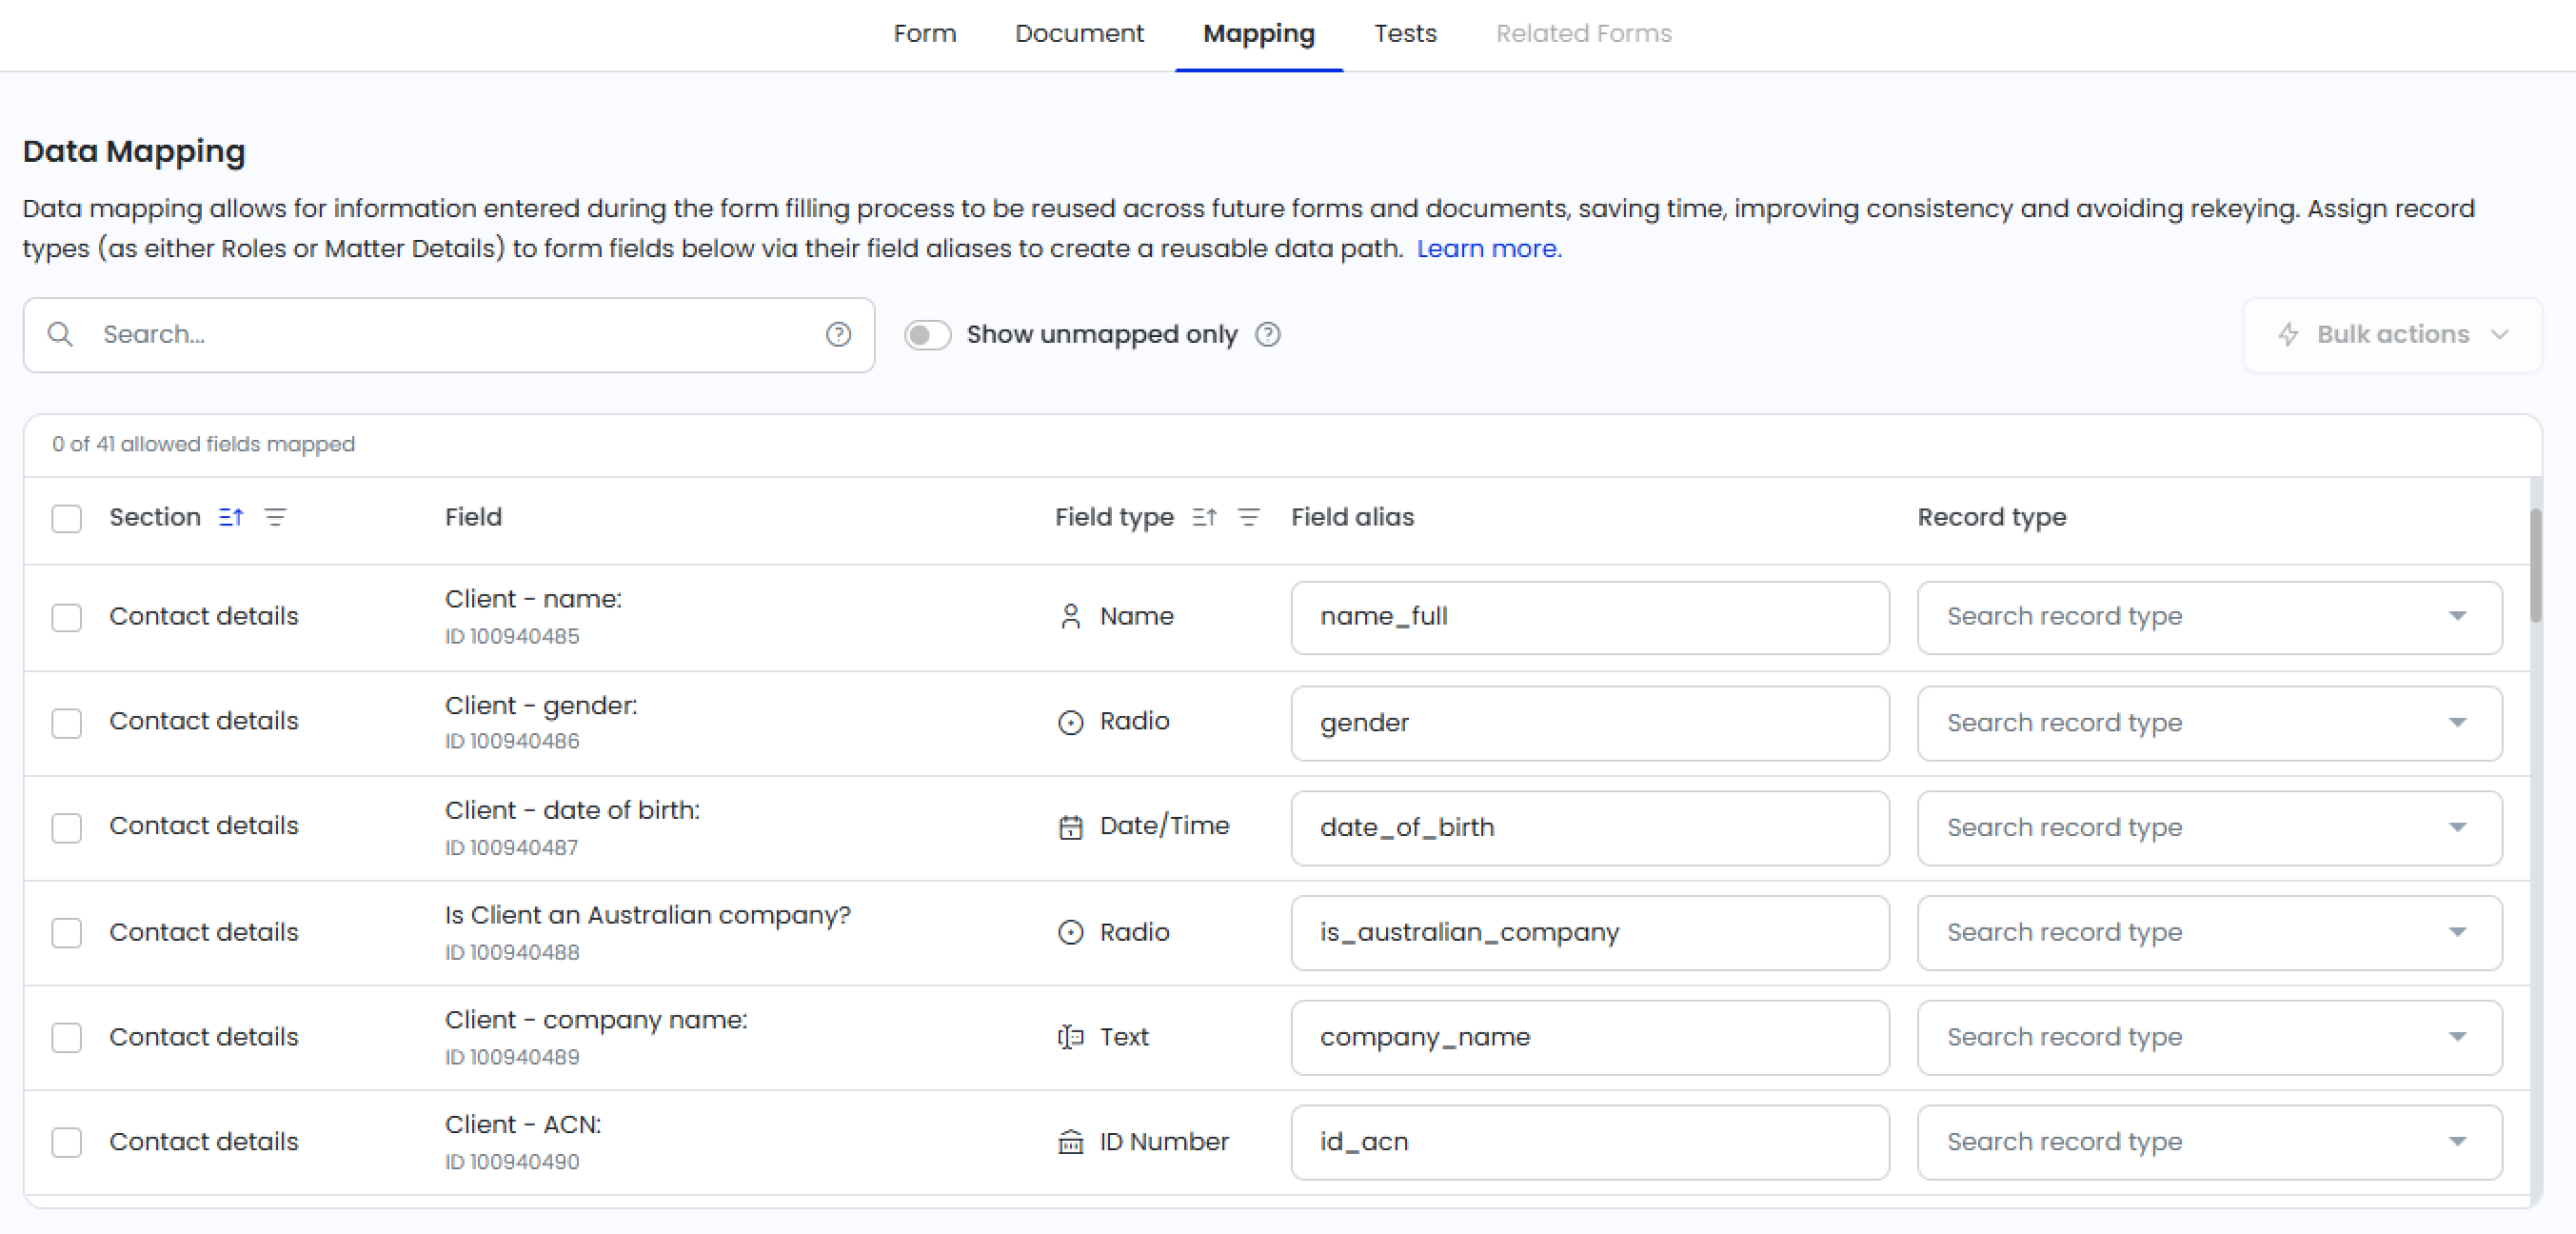
2. Assign Record Types
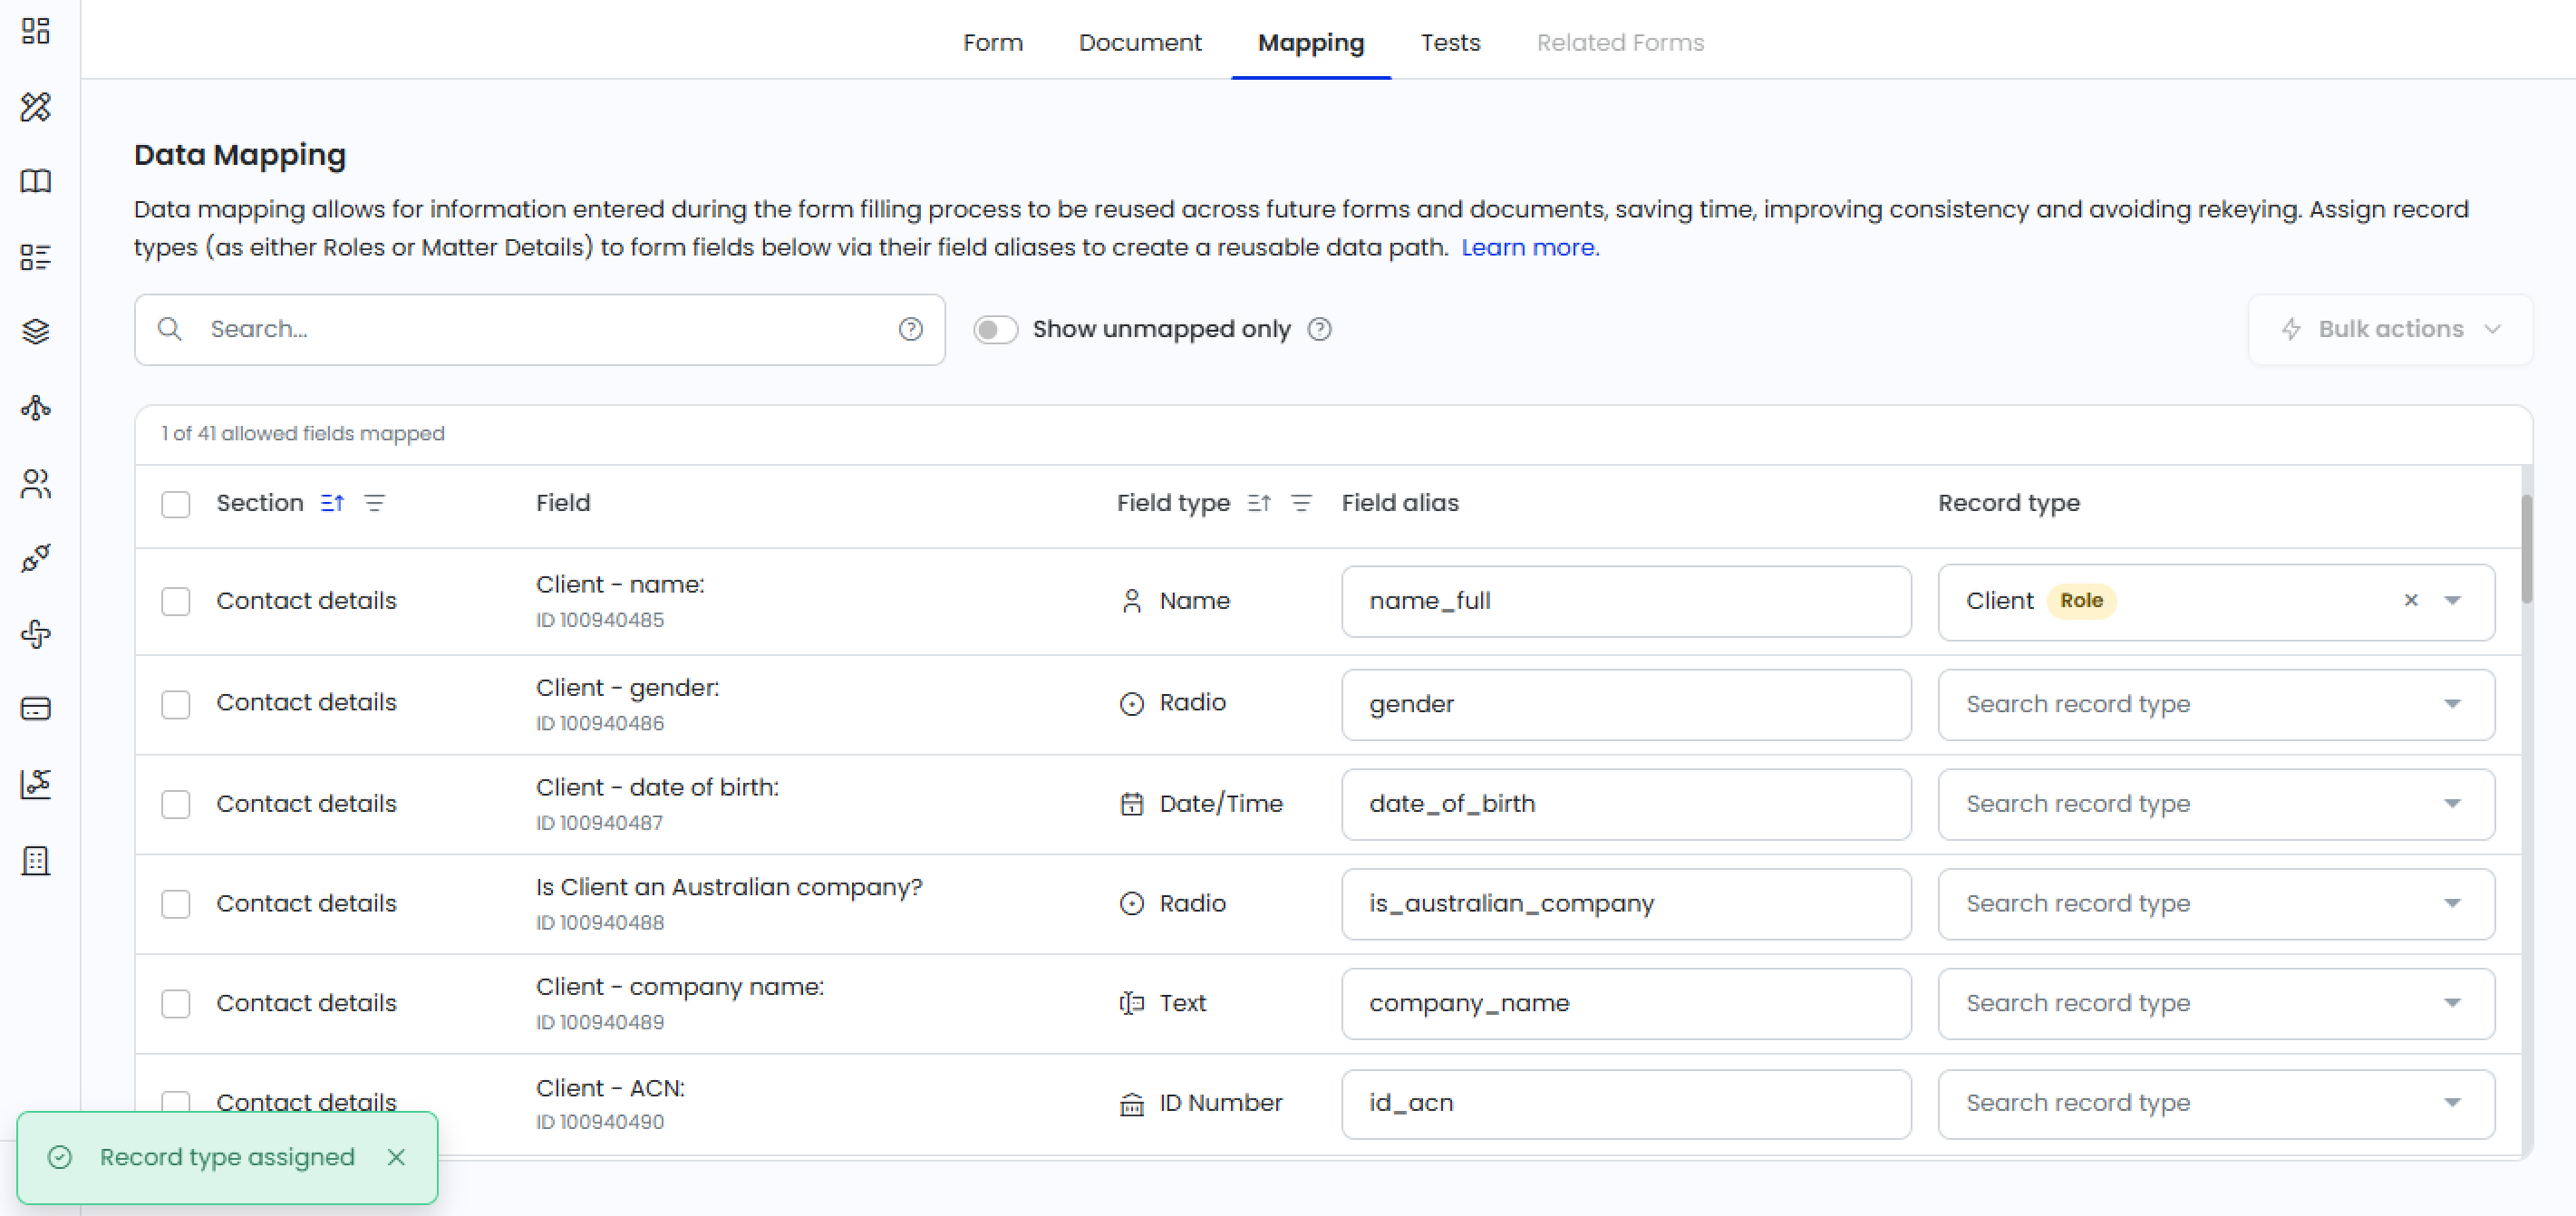
To assign a Record Type, search the record type for a field and then select it. If a record type you need cannot be found, use the 'Create new' option to create a record type from this view.
Once selected the record type will be assigned.
Tip: If there are multiple field aliases you want to map to the same record type, select each and then click on Bulk actions. Select the Assign record types option.
Bulk unassign works similarly by selecting each of the field aliases that are mapped, and selecting Unassign record types
Deactivate a Record Type
When a Record Type no longer should be used in form mapping, it is wise to deactivate it to maintain the list of Record Types.
1. Navigate to Assets > Record Types
2. Locate the Record Type you wish to deactivate
3. Click on Deactivate and confirm
4. The Record Type is now deactivated.
Deactivating a Record Type will remove any forms it is mapped to.
You can view any deactivated Record Types by sliding the Show inactive toggle. Deactivated Record Types can be reactivated, which will allow it to be mapped to forms once again. Note that reactivating will not map it back to the forms it was previously mapped to.

General Tips
- In naming Record Types, use descriptive names that reflect the group of data being collected, such as Client, Matter Details, Lawyer.
- Avoid variations of the same concept (e.g. Child and Children) — these will prevent data from matching across forms if the incorrect one was mapped.