Smarter Drafter allows multiple Offices to be created with details that can be used in document automations. An Office can be assigned to a Smarter Drafter Users profile, allowing document automations to be set up to automatically bring in the right Office details based on the user completing the submission.
Create and Edit an Office
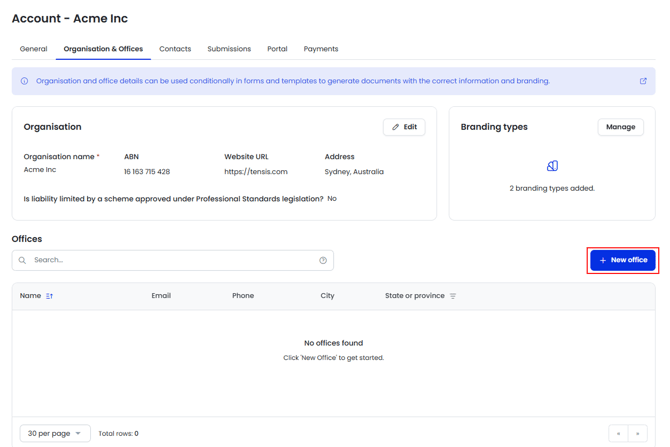
1. Navigate to Account and Organisation & Offices
2. Click on '+ New office'
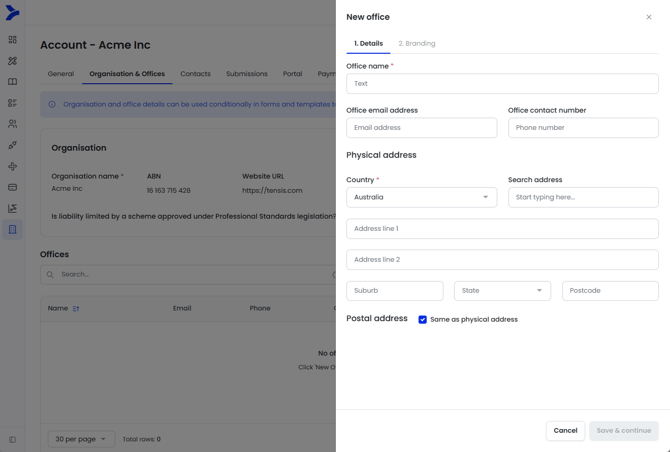
3. Add all the necessary fields and click Save & Continue. Note that Branding does not have to be applied but if set up can be added at this stage.
The Office is now created, and can be assigned to users as well as the information captured used in document automations.
To edit an Office, click on the Edit icon of the Office you wish to update, change the respective information and click Save.
Use Office details in Document Automations
1. Open the document template in Word with the right form selected in the Smarter Drafter builder Word add-in.
2. Click on the More tab, and select Office Fields
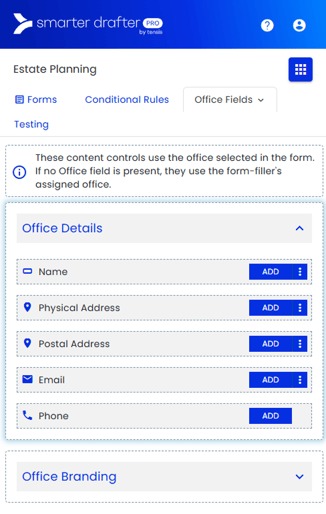
3. Add the required Office fields into the right place into the document
4. Ensure to upload the document once done and test that it appears correctly in documents generated.
To learn about applying Branding to an Office, see the following help article.
Common Issues & Solutions
Issue: I've added Office fields from the Word add-in to the document, but when I tried to generate a document the details did not appear.
Solution: Check that you have added and saved the information in the right Offices. Ensure the logged in Smarter Drafter user creating the submission has an Office assigned to their user profile.
Also check that the document template has been uploaded into the form.