In some cases, you may need to apply conditional rules to entire table rows. This article explains how to apply rules to table rows in your Word document template, making content appear or disappear based on form input.
Instructions
1. Go to the Word Document
- Open the Word document template that contains the table you want to modify.
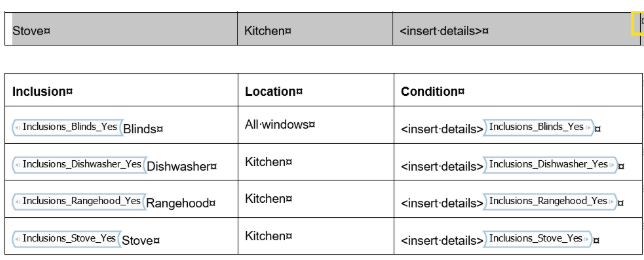
2. Highlight the Entire Table Row
- Select the entire table row by clicking and dragging across the row or selecting the row marker.
3. Access the Word Add-In
- In the Word Add-In, go to the Conditional Rules tab.
4. Select the Relevant Conditional Rule
- Choose the conditional rule you want to apply to the selected row.
5. Apply the Conditional Rule
- Click Add to apply the rule to the entire table row. The row will now appear or disappear based on the user’s form input.
6. Repeat for Other Table Rows
- For any other rows in the table that need conditional rules, repeat the process for each one.
Common Issues & Solutions
- Issue: The entire row doesn’t hide when expected.
- Solution: Make sure the entire row is highlighted, including the row marker. Check that the correct conditional rule is applied, and refresh the Word Add-In if necessary.